Most of the technology decisions in a high-end custom home get made before you ever pick a finish color.
That's not how people expect it to work. The assumption is that smart home features are a selection conversation, something you figure out alongside countertops and cabinet hardware. But missing one decision during framing and rough-in can turn a $200 upgrade into a $5,000 retrofit. By the time you're standing in a showroom comparing tiles, the walls are closed and the easy window has passed.
At Engelsma Homes, we walk every client through an electrical rough-in review before insulation goes in. It's part of the process, not an add-on. After 330+ homes, we know exactly which details people wish they'd addressed earlier, and which ones are simple to plan for when someone asks the right questions at the right time.
What The Rough-In Phase Actually Determines
Rough-in is when your electrician runs wire through the open framing before drywall and insulation close everything up; it's the phase of maximum flexibility. Anything requiring wire, blocking, or a box in the wall or ceiling has to be addressed here. After drywall, changes mean cutting into finished surfaces, patching, repainting, and potentially disrupting other work that's already been completed, which is a different cost and conversation than just adding a circuit.
Keypad and Smart Control Panel Locations
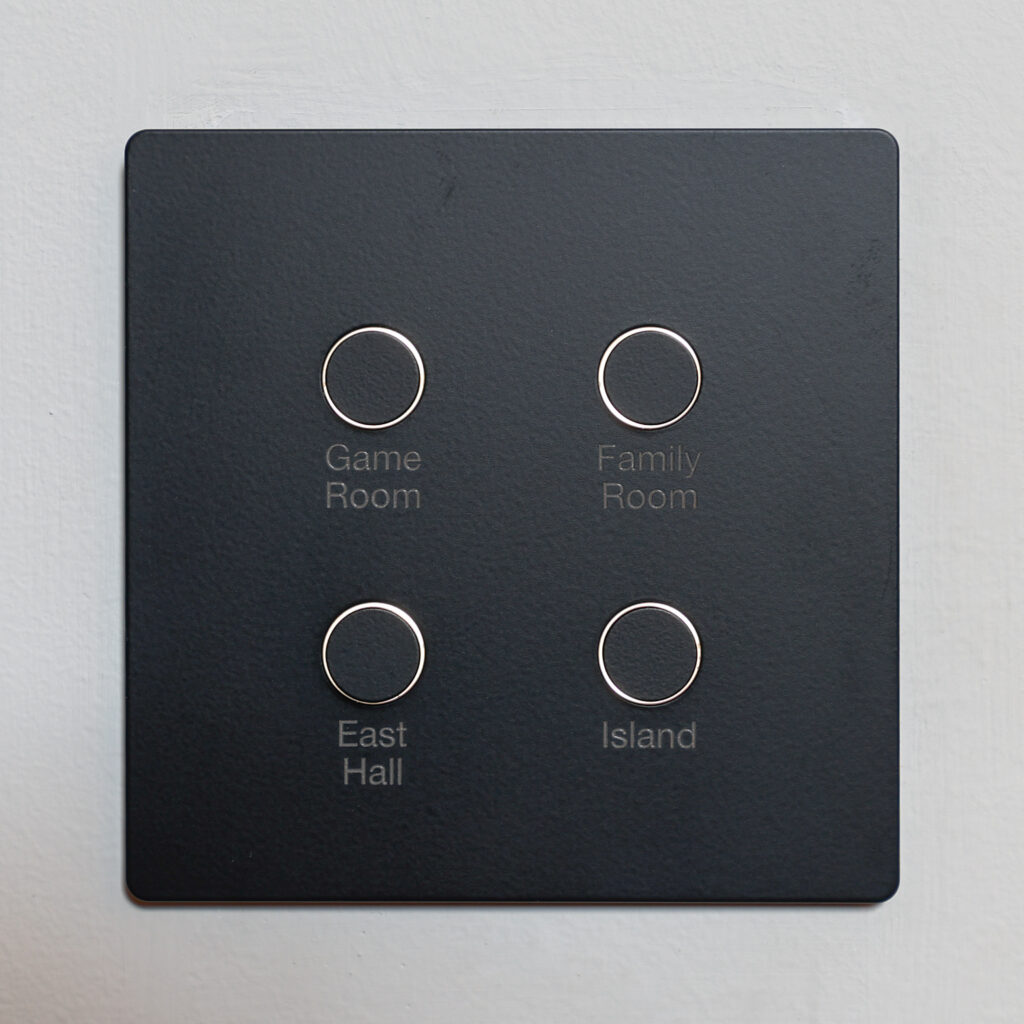
If you're planning a smart home system, with lighting zones, whole-home audio, security, and HVAC control, the keypads and panels that run those systems need conduit and low-voltage wiring during rough-in.
The goal isn't more technology. It's walking into your home, pressing one button, and having the lighting, shades, and music respond instantly. Or not pressing anything at all, because the system already knows what time it is and what you prefer. That level of simplicity requires planning well before insulation goes in.
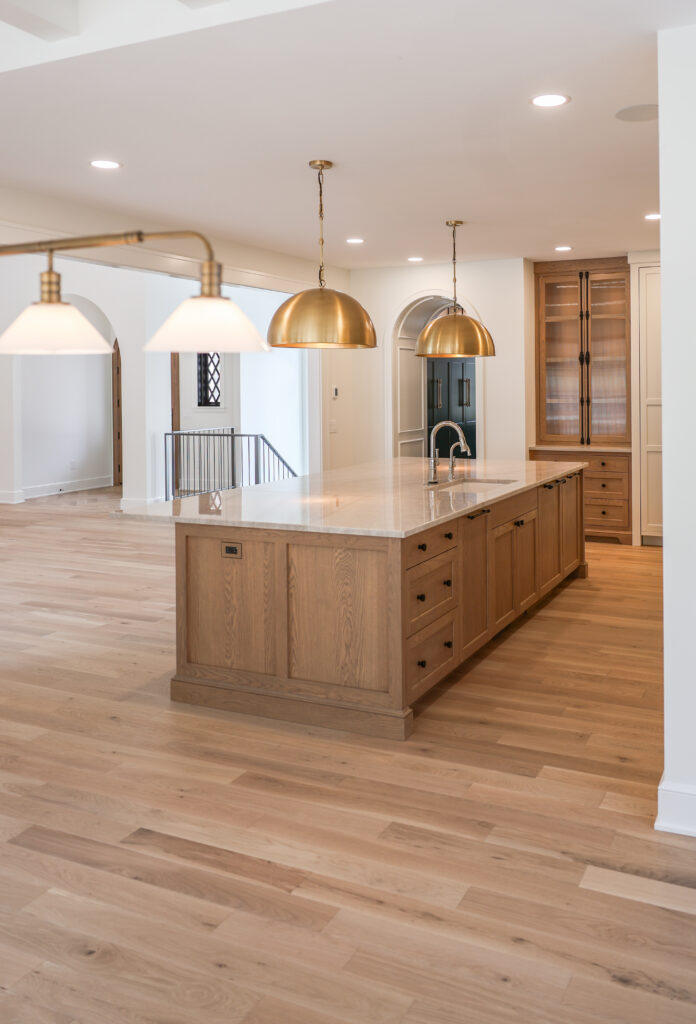
Location is as much a design decision as a technical one. A keypad placed at the wrong height, on the wrong wall, or without regard for how furniture will sit reads like something figured out after the fact. Getting it right means understanding how your family moves through the house and where the natural transition points are between spaces. For clients integrating whole-home automation, this conversation happens early in our design phase, not at rough-in.
Grommets and Wire Pass-Throughs
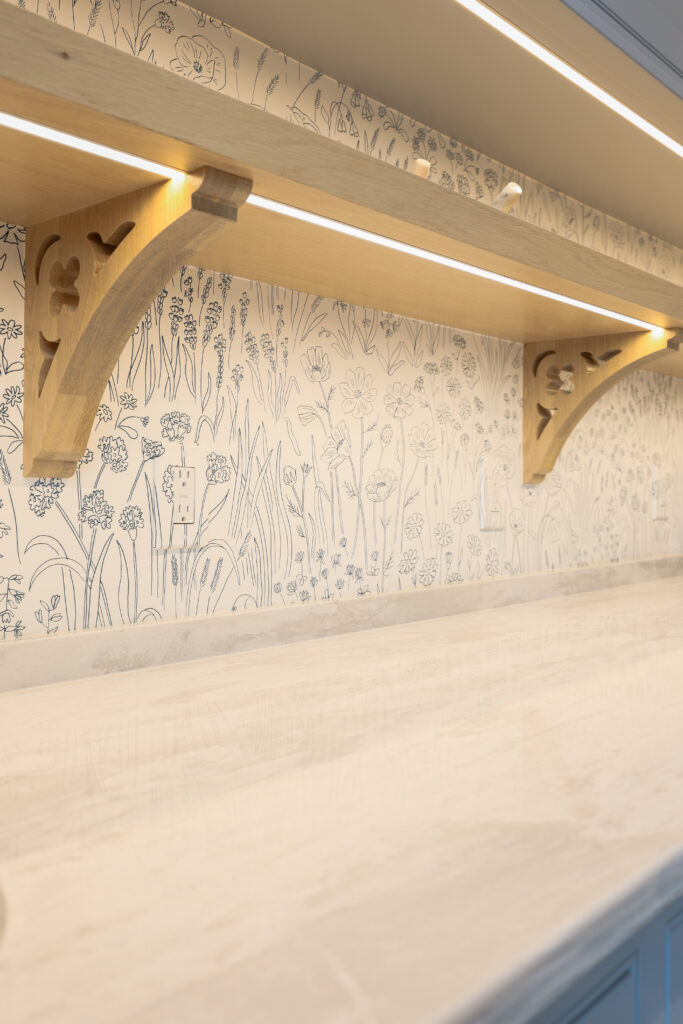
A grommet is a finished opening in cabinetry or a countertop that allows wiring to pass through cleanly and out of sight. The difference between a home office or media console that looks intentional and one that looks improvised often comes down to whether grommets were part of the original design or added as an afterthought.
Built-in entertainment walls, home offices, and butler's pantries all benefit from grommet placement that's been thought through before the cabinetry is built. Our cabinet studio specs these as part of the millwork drawings, not as afterthoughts added during installation.
Recessed Floor Outlets and Pop-Up Outlets
Wall outlets assume furniture lives against walls. A lot of custom homes don't work that way.
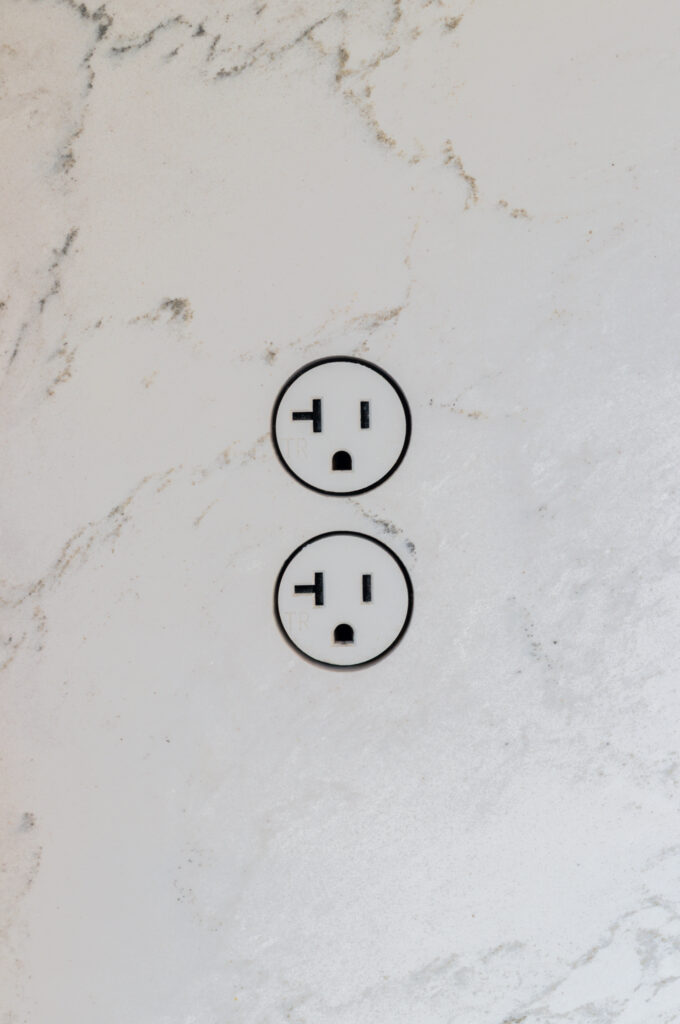
Recessed floor outlets sit flush with the floor surface, invisible when not in use and fully functional when needed. They solve a problem in open-plan great rooms where a seating group floats in the middle of the space, in dining rooms where the table sits away from the walls, and in home offices built around freestanding desks. Pop-up outlets handle the countertop version of the same problem: a panel that rises when pressed to reveal outlets or USB ports, then retracts flush when you're done. Common in kitchen islands, butler's pantries, and built-in desk surfaces.
Both require coordination between electrical rough-in and the finish work that comes later, and both become considerably more involved to add once flooring or countertops are in.
Mantel Plug and Floor Outlet Pairing
A mantel outlet is one of the more common items on a build specification. Typically used for holiday lights or decorative pieces, it's easy to plan for and easy to miss if no one asks. What requires a bit more intentionality is the wall-mounted television.
For wall-mounted TVs, we install a recessed box behind the wall that holds an outlet and an AV brush plate. Conduit runs from that box down to a lower cabinet where the receiver, cable box, or other components live. The result is a clean wall with no visible wiring, and all the hardware tucked out of sight. It looks intentional because it was planned that way from the start.
Floor outlets are most commonly planned for underneath the seating area, where power recliners, charging tables, and lamps need access without a cord running to a wall outlet. It's a detail that reads as invisible when done right.
The reason to plan early is straightforward: running wire horizontally through finished walls, or through a floor with a finished ceiling below, is difficult work after the fact. When it's on the rough-in plan, it's a simple addition. When it comes up after move-in, it's a much harder conversation.
It's a small coordination point that tends to surface only after people have been living in the room for a few weeks.
Electrical Outlet Spacing and Placement
The standard requirement of roughly one outlet every twelve feet along a wall was written for general residential construction, not for a home office with a standing desk, a kitchen with appliances that live on the counter permanently, or a primary closet with a built-in vanity area.
Outlet placement designed around how a room will actually be used produces a home that functions the way it was designed, whereas ensuring it meets code minimums produces a home where you're running extension cords within the first month. The electrical rough-in walkthrough we conduct on every Engelsma project goes room by room, against how each client has told us they plan to live in the space, and catches these gaps before they become permanent.
Wall-Mounted Device Heights
Thermostats, light switches, smart panels, and intercom screens all have a standard mounting height that’s a starting point, not a guarantee.
In homes with significant millwork, such as wainscoting, raised paneling or horizontal trim bands, a device mounted at standard height can bisect a design element or land on an awkward line. In rooms with taller-than-standard ceilings, what reads as correct in a conventional space can feel too low in the actual room. The height gets set when the electrical box is placed during rough-in, and it stays there. A ten-second conversation during framing is a lot easier than a patch-and-paint job later.
The Point of Asking Early
Every item on this list costs less to address during framing than after the walls close. The wire is already going in, the labor is already on site, planning for a fan block or a floor outlet at that stage is a note on a checklist. Adding one later is a construction project.
What makes this part of the Engelsma process rather than homework for the client is that we've built the questions into our pre-construction planning. You don't need to arrive knowing what a fan block is. You need to know which rooms you want ceiling fans in. The rest is our job; and we've done it enough times to know which questions to ask before you'd think to ask them yourself.
One team, one process, and no scrambling after the walls are closed.
Ready to talk through what your home's technology plan should include? Our design team walks every client through these decisions before a single wall goes up. Contact Engelsma Homes, Forest Hills Home Builder, to get the conversation started.